บทที่ 3 การแต่งภาพ (Photo Retouching)
Adobe Photoshop มีเครื่องมือที่หลากหลายสำหรับการปรับแต่งภาพ บทเรียนนี้จะอธิบายถึงเทคนิคต่างๆ สำหรับการแก้ไขภาพขั้นพื้นฐาน การรับการปรับขนาด การตกแต่งภาพ การแทนที่ภาพ การเปลี่ยนสี
(Adobe Photoshop provides you with a variety of tools and commands for improving the quality of a photographic image. This lesson explains techniques for basic image correction by stepping you through the process of acquiring, resizing, and retouching a photo intended for a print layout.)
ในบทนี้จะเรียนรู้ขั้นตอนวิธีโดยมีเนื้อหาดังต่อไปนี้:
• Choose the correct resolution for a scanned photograph.
• Crop an image to final size.
• Adjust the tonal range of an image.
• Remove a color cast from an image using an adjustment layer.
• Use the Replace Color command to change the hue and saturation of a selected color in a photograph.
• Adjust the saturation and brightness of isolated areas of an image using the sponge and dodge tools.
• Use the rubber stamp tool to eliminate an unwanted object from an image.
• Replace parts of an image with another image.
• Apply the Unsharp Mask filter to finish the photo-retouching process.
• Save an Adobe Photoshop file in a format that can be used by a page layout program.
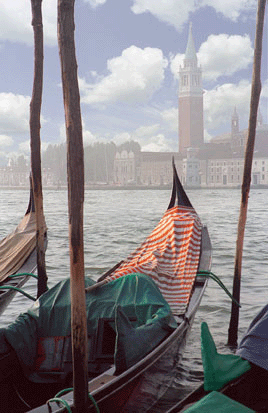
1.ตัวอย่างภาพชิ้นงานเมื่อเสร็จสมบูรณ์ [End04.psd 315 Kbytes]
2.เอกสารประกอบการฝึกปฏิบัติ [PDF 1.03 Mbytes]
3.ชิ้นงานสำหรับเริ่มฝึกปฏิบัติ [Start03.psd 315 Kbytes]
4.ภาพประกอบ 1 (ท้องฟ้า) [Clound.psd 154 Kbytes]
แปลและเรียบเรียงโดย ผศ.ปริญญา น้อยดอนไพร
(สาขาวิชาวิทยาการคอมพิวเตอร์ คณะวิทยาศาสตร์และเทคโนโลยี มหาวิทยาลัยราชภัฏสุราษฎร์ธานี)